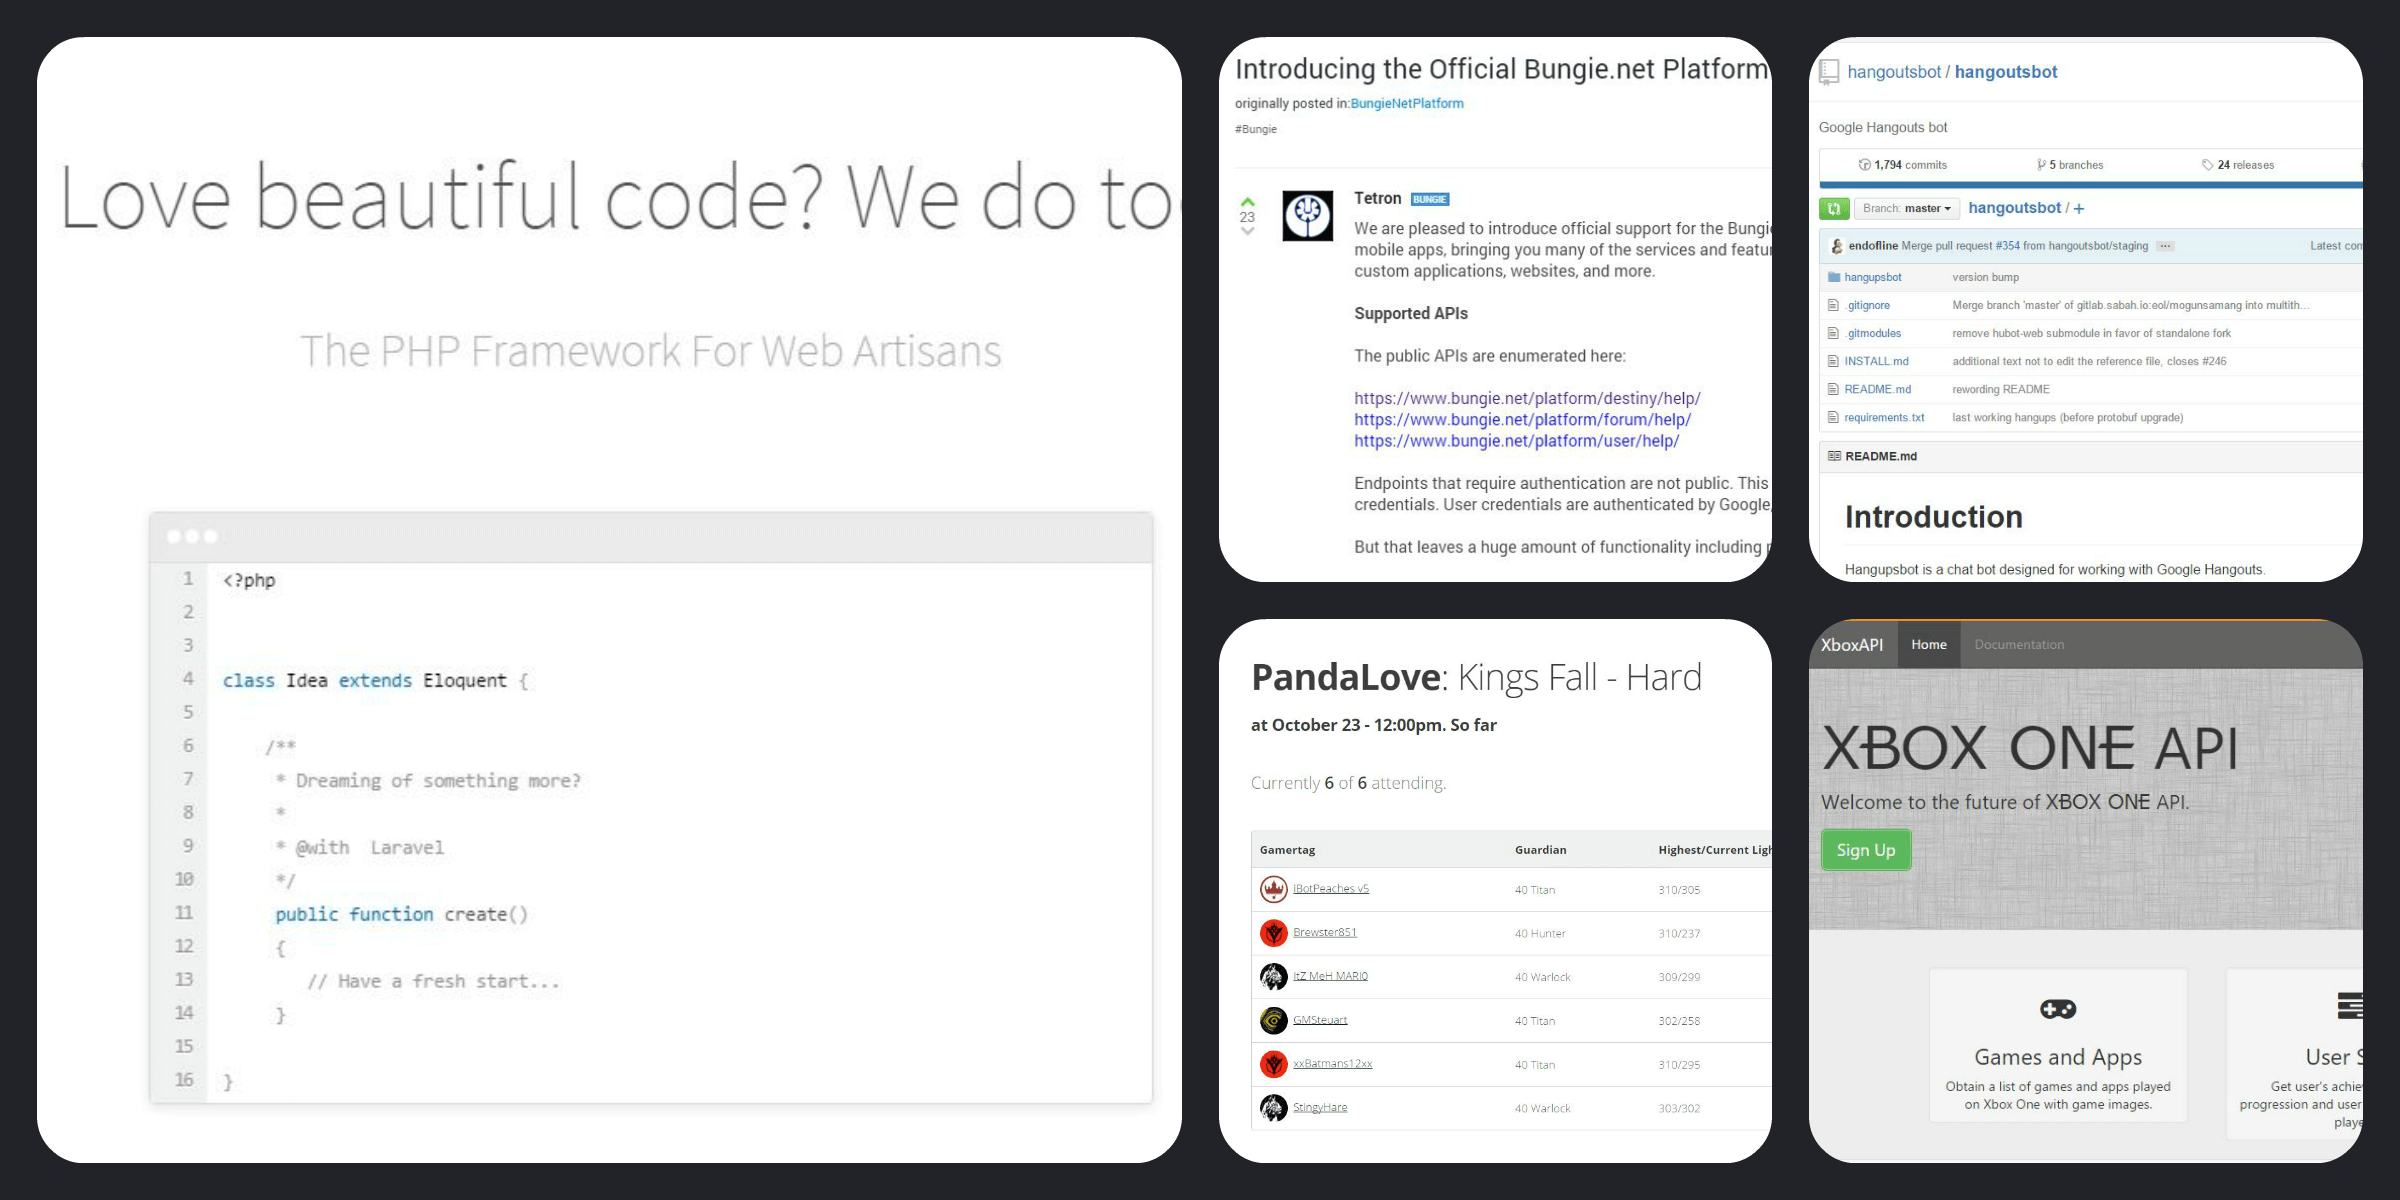
Fun with the Destiny API, Laravel, Hangups Bot and more
Google Hangouts has become the source of 90% of my online real time communication. I have a variety of groups ranging from work, hobby, gaming and school related hangouts. For a few of these groups, I noticed the addition of a "bot" could increase our efficiency with basic tasks.
This is where I met the open source project: hangoutsbot which utilizes hangups. This amazing project has a large collection of plugins with the ability to write your own.
For one hangout, it had become common to "roll-call" and count off for attending events. Most conversations would go something like this.
Me - Okay, who is coming tonight? I'll start 1
Another - 2
You get the point. Quickly though, this conversation is lost and those checking in on the chat may completely missed the event, especially if a few hundred messages had passed.
We needed a system that handled RSVPs, but within a hangout. Forcing a user to go to a website and sign up, defeated the purpose and ease of use that doing a roll call in a hangout provided.
So first I needed to update our website to support a calendar. We found fullcalendar.io, which had amazing support in terms of functionality. We basically load the calendar, and provide it a URL for events. The calendar than sends out an AJAX request for events of that month, which Laravel handles from there.
public function getEvents(Request $request)
{
    $events = GameEvent::whereBetween('start', [$request->get('start'), $request->get('end')])->get();

    return $events->toJson();
}
We grab all events between the start/end date, so the calendar only populates events in that time frame. Our column names match what fullcalendar.io is requiring. A simple date, title, and url column. We actually leverage Laravel's mutators to create a url column, as we don't have a column for that.
So Laravel dumps this back to front-end.
[{"id":9,"title":"Kings Fall","type":"Raid","start":"2015-09-29 04:00:00","created_at":"2015-09-27 20:05:11","updated_at":"2015-09-27 20:05:11","max_players":6,"alert_5":0,"alert_15":0,"url":"http:\/\/pandalove.club\/calendar\/event\/9","backgroundColor":"#5BBD72"}]
Which full-calendar.io loads easily
$('#calendar').fullCalendar({
    firstDay: 1,
    events: "{{ URL::action('CalendarController@getEvents') }}"
});
Then we are left with this dynamic calendar.
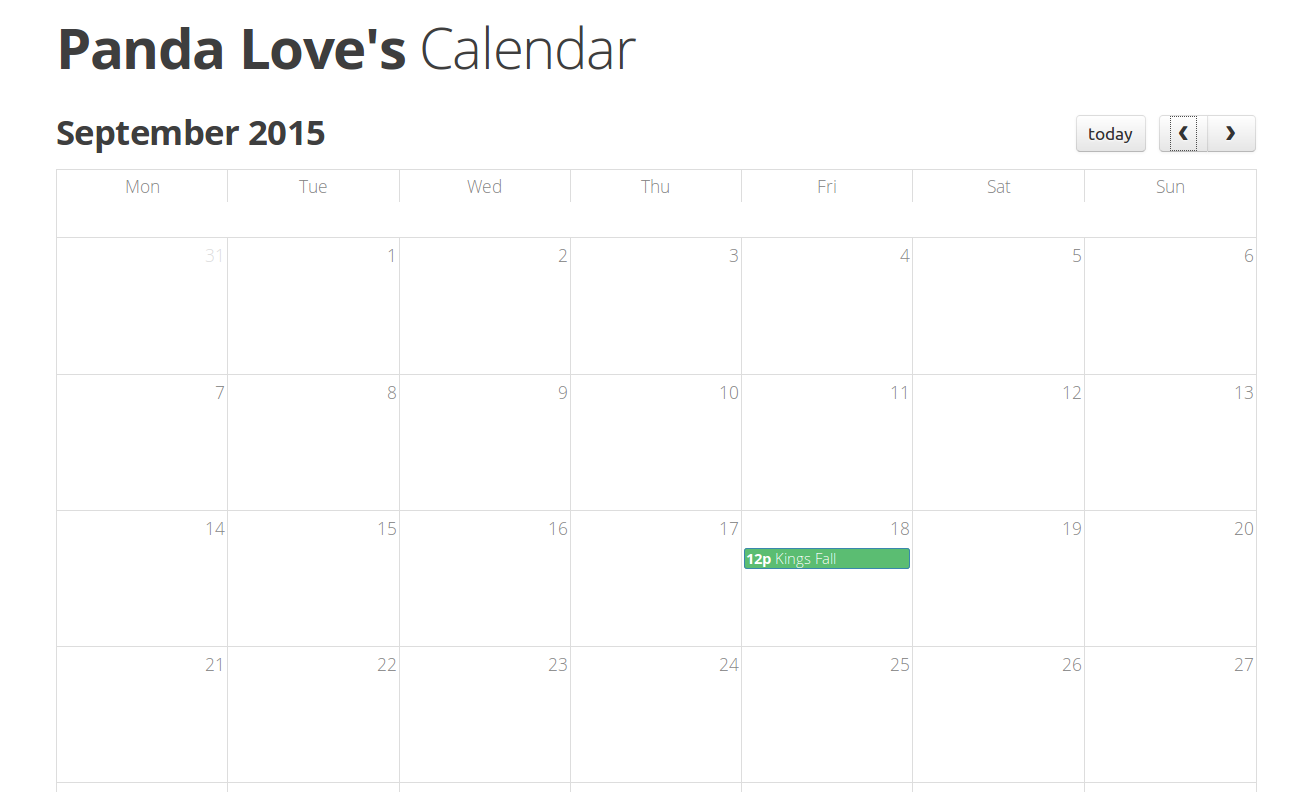
So now we have a working calendar, where events are populated from our own data source. Now we needed to extend this to allow people to "signup" for those events.
This is where some creativity needed to happen. We need a solid bit of information for this sign up. If a user signs up, we need to know
- Who they are.
- What character they are.
- They are authenticated and allowed to sign up for these events.
Step 1 - Google+ Authentication
Once again, Laravel saves the day - taking the complication out of this process. Simply using the Socialite package allowed us to make our entire login/register function as easy as this.
private function redirectToProvider()
{
    return \Socialite::with('google')->redirect();
}

private function handleProviderCallback()
{
    $user = \Socialite::with('google')->user();
    \Event::fire(new GoogleLoggedIn($user));
}
So a brand new user clicking sign in, is redirected to a familiar page.
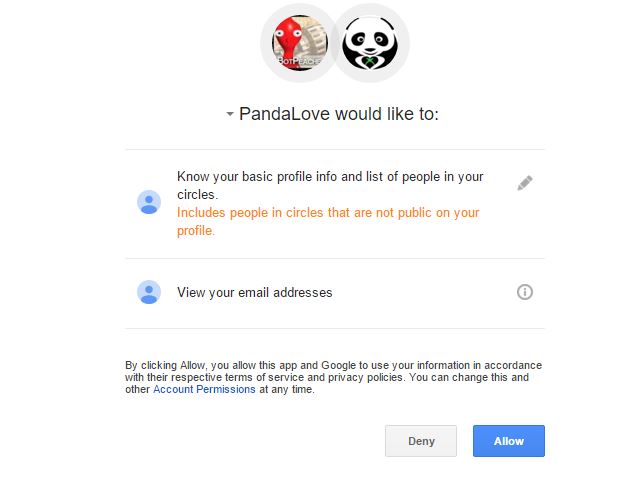
This prompt grants us permission to view name, email, avatar, and google_id. With these fields we can create a user, uniquely identified by google_id and email.
Step 2 - Linking a Google+ Account with a Destiny Account
So now our group has authenticated with our site, but our site has zero knowledge of who owns which Destiny account. Yes, this would be relatively easy to hard code, but I did not want to take that route. Asking for the user's password to authenticate on their behalf was out of the question.
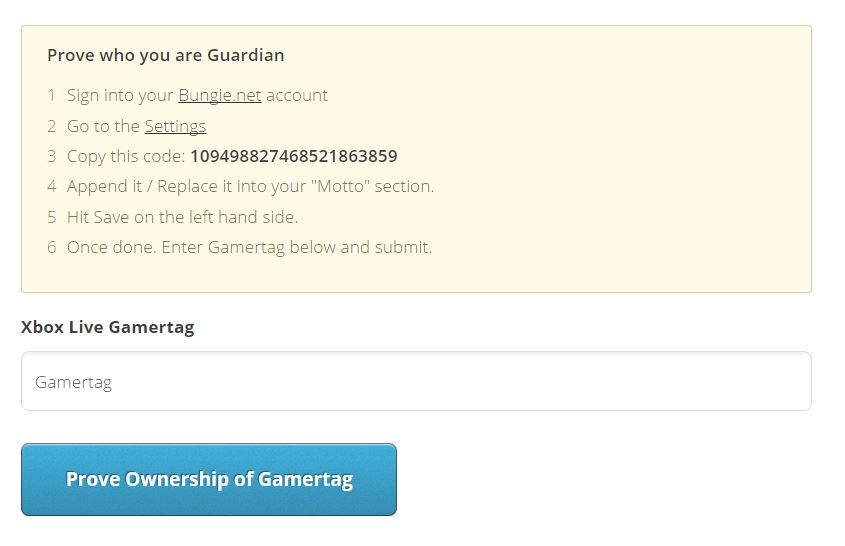
A common practice I learned for verification was to provide the client with a group of random numbers and ask them to enter them in a profile location on their Destiny account. Therefore, I can leverage the API to view the profile of the account they are verifying and check if the random digits I requested are there. You get the picture, if digits are found I can safely say they own that account.
So now we have a Google account linked with a Destiny account. So the binding for $user->destiny is working perfectly. The Destiny API doesn't require any per account API keys, so just knowing which account belongs to
Step 3 - Figuring out the characters a Destiny account has
So if a user is RSVPing to an event. We need to know which character they want to be. At this point through validation, we know if they are applying to an event that they have a Google account & linked Destiny account.
This blog is more of the overall picture, so I will skip the details on building off the API to obtain characters. After this work, I'm left with a relation on my User model of their Destiny characters.
public function characters()
{
    return $this->hasMany('Onyx\Destiny\Objects\Character');
}
So now easy as pie. I can run $user->characters and have a collection of their characters (min: 1, max: 3). Though we have hit another "worry" point. Currently anyone with a Google account and Destiny account can signup and RSVP to our events.
Step 4 - Isolating sign ups to our group only
So this turned out easier than I thought. During our API pull of their profile (Where we validated the random characters) we can see what "clans/groups" that user is a part of. So we simply look for our clan_id and throw a boolean flag so our User model knows it is a fellow clan member.
Our proof of concept (without hangouts) was working great. Users could sign up with a Google account, validate ownership of their Destiny account and load their characters in order to sign up for an event.
However, we hadn't even touched our Hangouts chat yet.
Step 5 - Bringing this functionality to chat
So now we have a bot sitting in our hangouts. First I needed to get comfortable in how the bot could obtain information via commands. So I wrote a quick /bot xur command to test the waters.
def xur(bot, event, *args):
    """get xur data"""
    r = urllib.request.urlopen("http://pandalove.club/api/v1/xur/")
    parsed = json.loads(r.read().decode('utf-8'))

    bot.send_html_to_conversation(event.conv_id, parsed['message'])
This simply opens up a GET request to our website and returns json. So after some tweaking of the returned information. We end up with this.
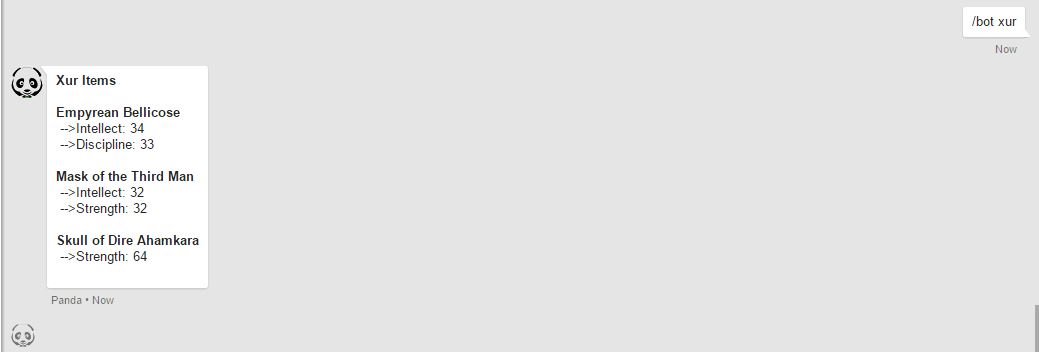
Which was pretty fun to make. Any time this video game character arrives on Friday 4am CST, I can issue /bot xur when I wake up and be presented with the items.
Step 6 - Applying this functionality to the real problem
So now we need /bot rsvp to function, but the problem at hand is we need to know
- What Event they are RSVPing to
- Who this person is
- What character they want
Figuring out problem #1 was rather easy. Just require the ID of the event to be a parameter. So /bot rsvp 5 would RSVP you to the event with id of 5. However, we are just sending text to the server, so we have no idea "who" is sending this text. Once again, hangups bot to the rescue.
I noticed the event parameter that all functions are required to have. Investigating this variable led me to event.user_id.chat_id. Which is the Google ID of the person who sent the message. If you remember from Step 1, we have this information, so the bot can use this to validate people.
The problem was now how to validate characters. There was no easy way for the command to say "let me play on ___ character". So I got a bit creative.
Running /bot rsvp 5 without the 4th parameter, would return another message explaining what your 4th parameter should be. You can see from the example below, how this played out.
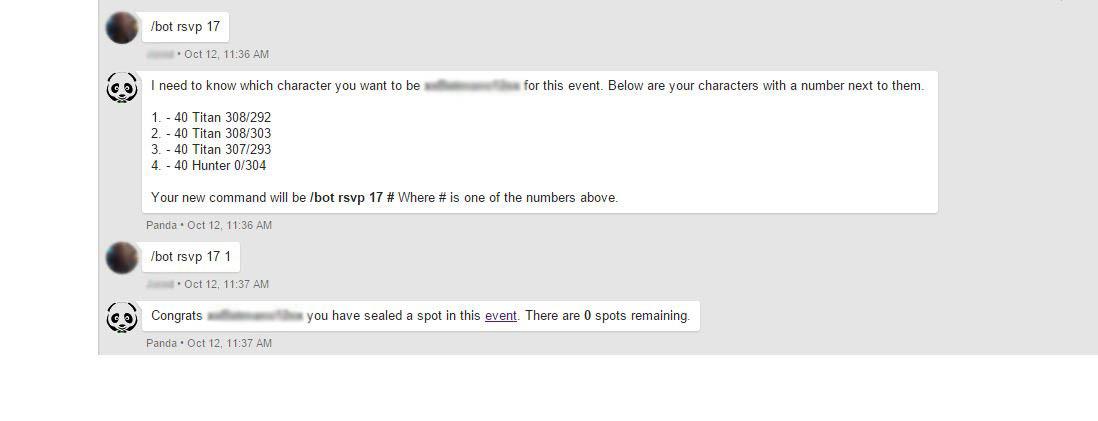
This was absolutely amazing. Our system was working perfectly, so we added some functionality.
/bot events- to list upcoming events/bot event id- to list that event id information/bot update- Updates your profile and destiny information/bot light- Provides light information (Destiny term) on your character./bot grimoire- Provides grimoire information (Destiny term) on your character.
After a few weeks, there was a common feature request. "Can we get alerted before an event starts? Like a reminder."
Step 7 - Pushing messages to the bot.
After a few days of discussion. We agreed to add a 15 and 5 minute reminder prior to an event. The problem was our bot knew nothing about these events. This functionality was server side on our Laravel install.
Laravel with a simple schedule command running every 5 minutes could detect when an event was 15/5 minutes away from starting, but we needed a way to push a message to the hangout.
Off to the docs of hangupsbot, and I found the API Plugin. This clever plugin added a listener to the bot, then you could POST requests to that URL and the bot would react on that command.
Guzzle made that too easy.
$url = env('BOT_HOST') . ":" . env('BOT_PORT');
$response = $this->guzzle->request('POST', $url, [
    'json' => [
        'key' => env('BOT_APIKEY'),
        'sendto' => $sendto,
        'content' => $content
    ]
]);
This was one of our more interesting improvements. The bot would now message us privately on Google Hangouts triggering a notification to remind us of the event we signed up for.
Step 8 - End: Identifying those in an Event
Now we had an opportunity to extend again. A new feature request was "I want to know who is online before I sign on". So off to Google and I find xboxapi.com. An unofficial service for making Xbox API calls.
They had an interesting endpoint
/v2/{xuid}/presence- This is the current presence information for a specifiedXUID
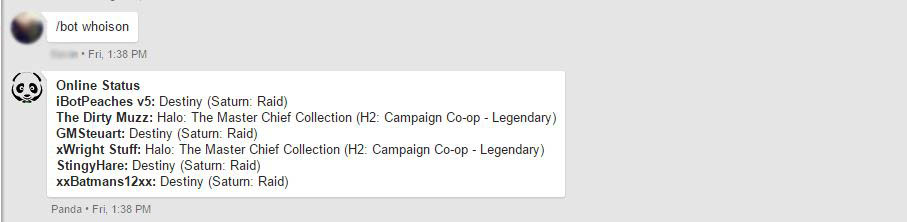
So an additional library was created using this endpoint. All we needed was the XUID of the gamertag and the API would return the "online status" of that XUID.
$url = sprintf(XboxConstants::$getPresenceUrl, $account->xuid);
$requests[$account->seo] = $client->getAsync($url, [
    'headers' => ['X-AUTH' => env('XBOXAPI_KEY')]
]);
We would iterate through our accounts and get their "online status" on Xbox. The image below shows this in action.
Our website, bot and more grew rapidly throughout this process. This turned out to be a constantly evolving fun project, using multiple technologies together.