Running CAT6 (Part 2)
This is Part 2 of a journey of wiring CAT6 into an older home. If you missed Part 1 - feel free to check it out prior to reading this article.

Where we left off last was a hole in the ceiling and some damaged drywall. A larger hole was cut out to accomplish two tasks - finish the wiring itself & patch the damage.
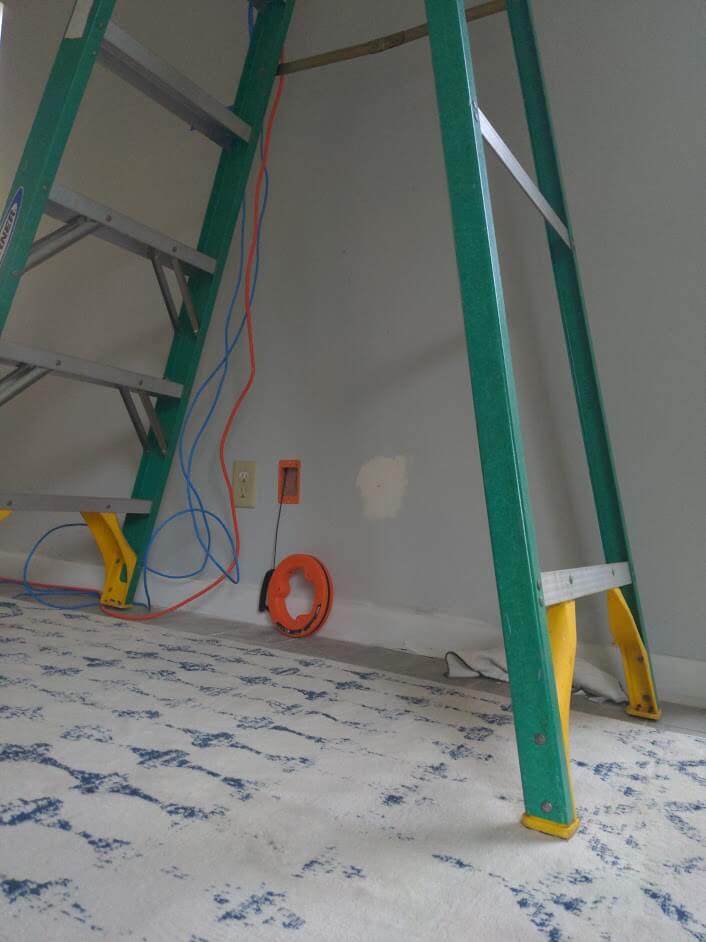
It turns out it is difficult to make a perfect rectangle on a vaulted ceiling 14ft in the air. Judging from the photo above you can tell there is quite a bit of distance until the wall. I was nervous going up the ladder if the cable I ran would even be in arm's reach.
So the first win of the day was seeing the snake and dual CAT6 cables I threw into the corner before I left the attic on day 1 of this project. So immediately a sigh of relief, because I figured my only remaining task was to lean over the edge - drill a tiny hole and drop the cable down.
This wouldn't be a blog post if it was that easy. My first issue was the distance before the double 2x4 to drill through was at least 1ft below the attic ground level. So imagine standing near the top of a ladder leaning across 1 panel of drywall to look down a 1ft gap while holding a drill to find a place to drill.
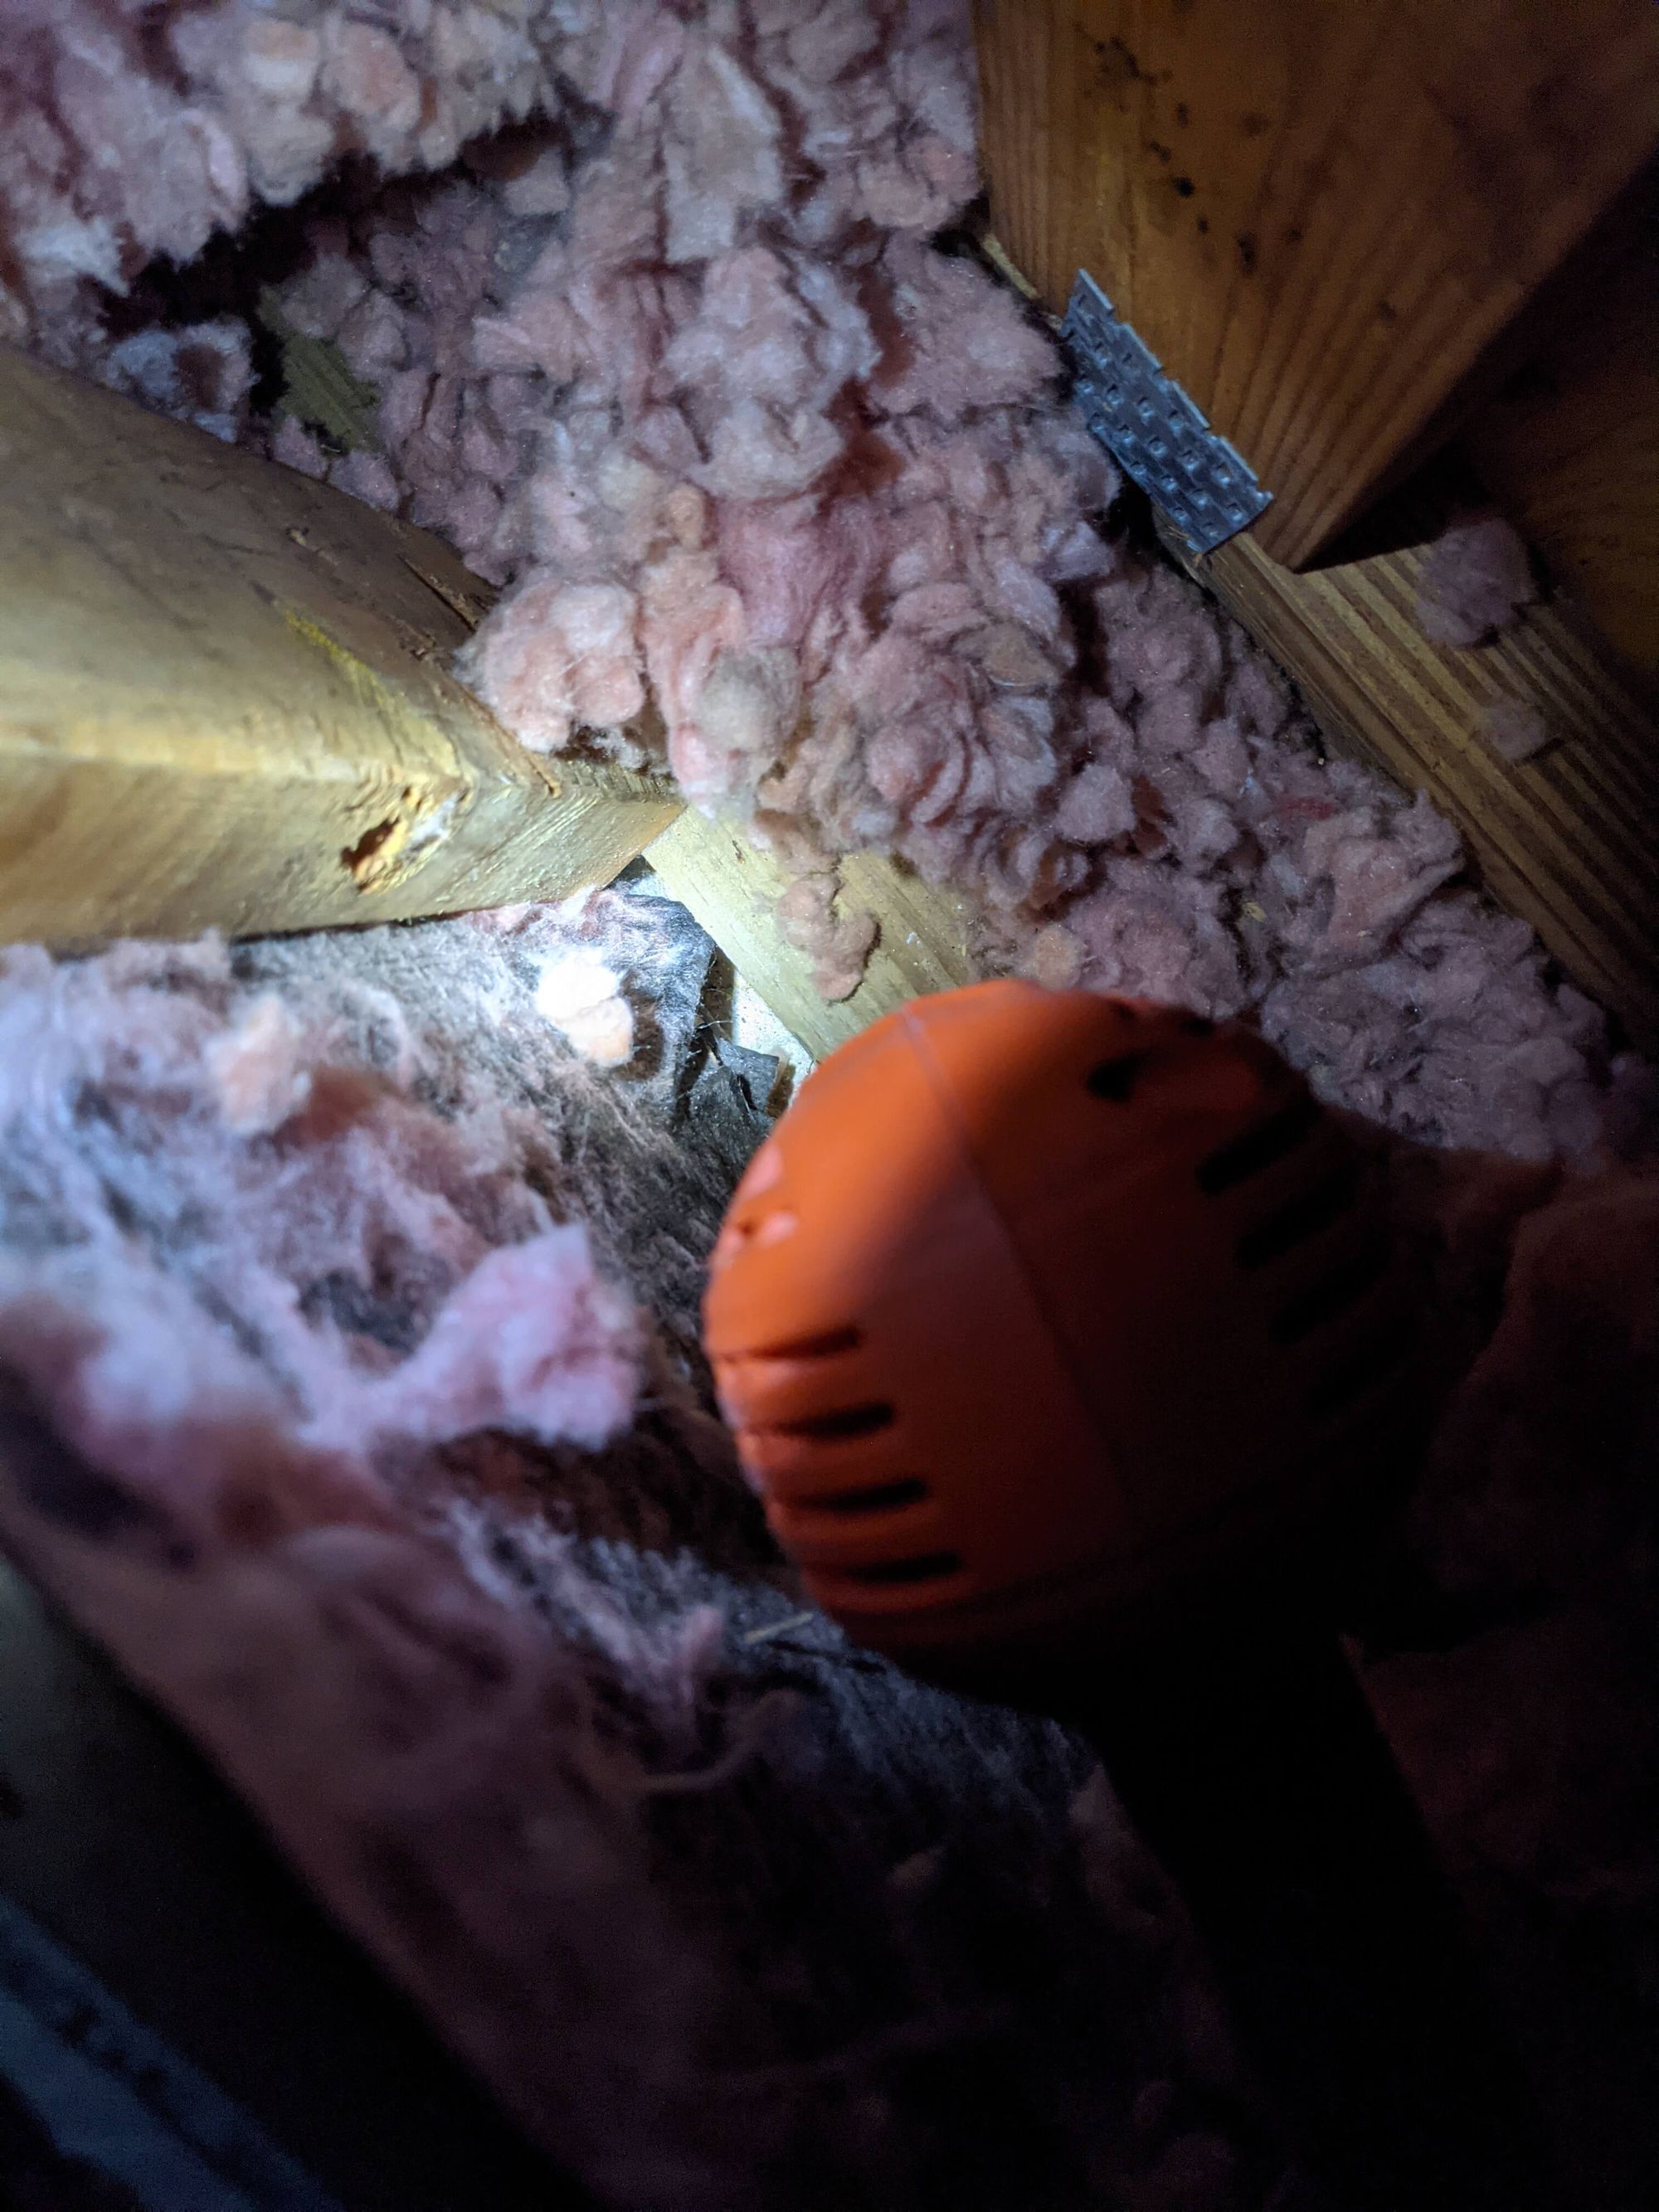
Immediately it became obvious that you could not drill through the entire wood block. It felt like there was a concrete/stone block right after the wood - whether that makes sense or not I could hit the concrete block from the snake below and attempt to drill into it from above.
So I started doubting where to drill. Looking at the above photo the top portion is the exterior wall so it isn't that and the middle wood block is right on top of the concrete blocks. I don't think I'm intended to drill through every single concrete block on the exterior.
That only leaves a tiny 1 inch gap which you can see at the bottom of the image between the drywall and the exterior wall. It was very difficult to drill in that location at the top of the drill would prevent a perfectly straight drill. Not to mention I couldn't even drill it with the size bit I had.
So after a trip to the store for a masonry 18" bit - I was back and immediately drilled through the masonry block and my drywall :(

So now I had a hole in my wall like 2ft down from the ceiling, but at least there was a hole in the masonry. I ended up cutting out a box to remove the damaged drywall to patch, then could use this hole to help find my snake when trying to push it up from the ground.
From the photo above this also had the benefit of seeing my two CAT6 cables pushed through the concrete block and into the wall space. At this point it was an easy job, just patch the cables and mount them into the bracket.
Unfortunately the damage that remains to patch:
- Two wrongly placed junction box holes to patch
- One hole near ceiling (pictured above)
- Large hole in vaulted ceiling
- Damaged drywall on ceiling near large hole
At least the speed test worked on both ports :) - The gig line was working first try, but now I have many mistakes to patch and fix up.