The Pwnagotchi
For those believing this is a tutorial, please head to a more proper tutorial location. This is just a story of building something cool.
A few weeks ago a group I belong to announced a new event in which we'd build a "pwnagotchi" which was the first time I'd ever heard of that word. I quickly learned after a few Google searches the coolest little project that would automate parts of exploiting WPA networks.
So I was off to buy a few things, which basically broke down to:
- Raspberry Pi Zero W
- PiSuger Powerpack L
- Waveshare 2.3in e-paper HAT
Turns out trying to buy a Raspberry Pi Zero on Amazon was a bit tough and out of stock nearly everywhere. So I went to CanaKit and ordered a kit with a few extra things I didn't need.
I now had everything I needed prior to the event. However, that random Thursday during work a coworker left at lunch feeling a bit sick and since COVID won't go away - turns out they tested positive a few hours after leaving the office.
So while I felt fine - I did not attend the event and attempted to build mine on my own.
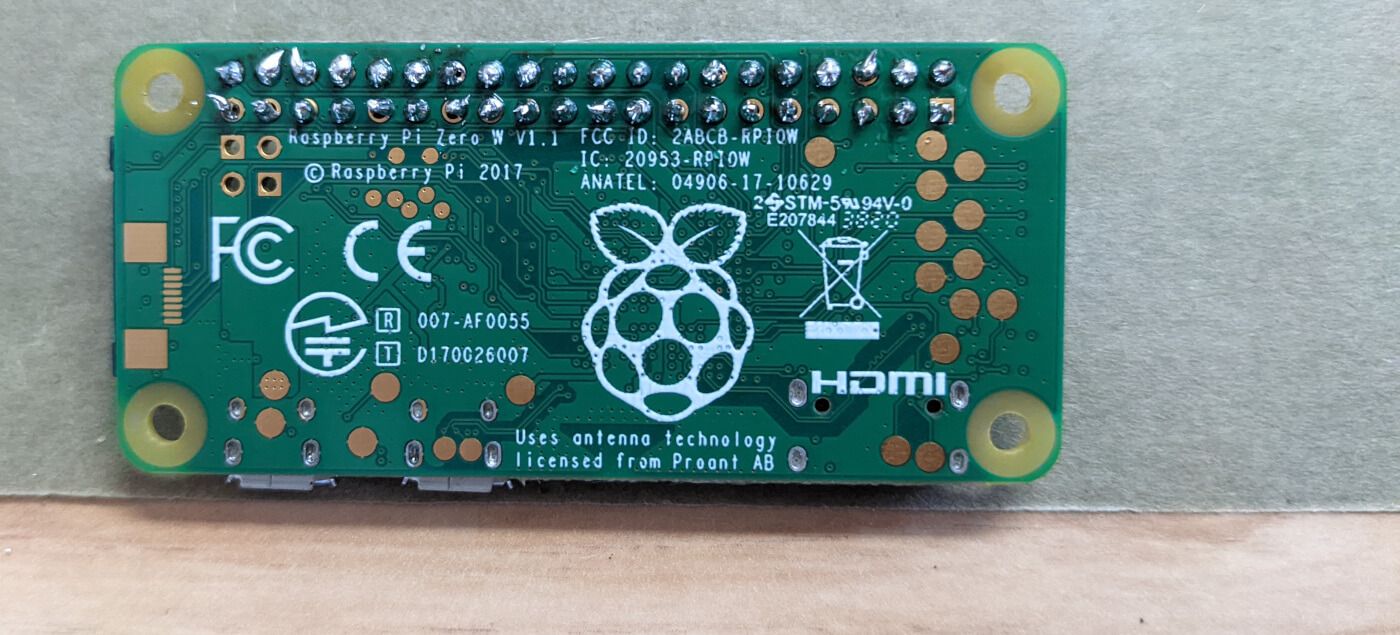
Enter the first mistake - where I could not attach my e-ink display to the Pi because I had no pins to connect with. Turns out I should have purchased the pre-soldered GPIO headers, but I did not.
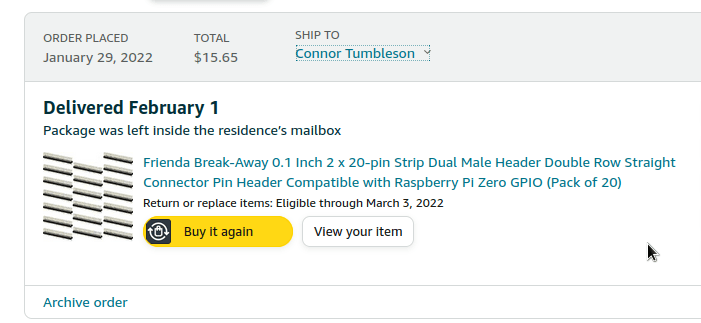
So I ordered a pack of GPIO pins in the smallest quantity of 20. At this point I was days away from the next meetup and my device was still not built. So I missed another week waiting on the delivery of the pin headers.
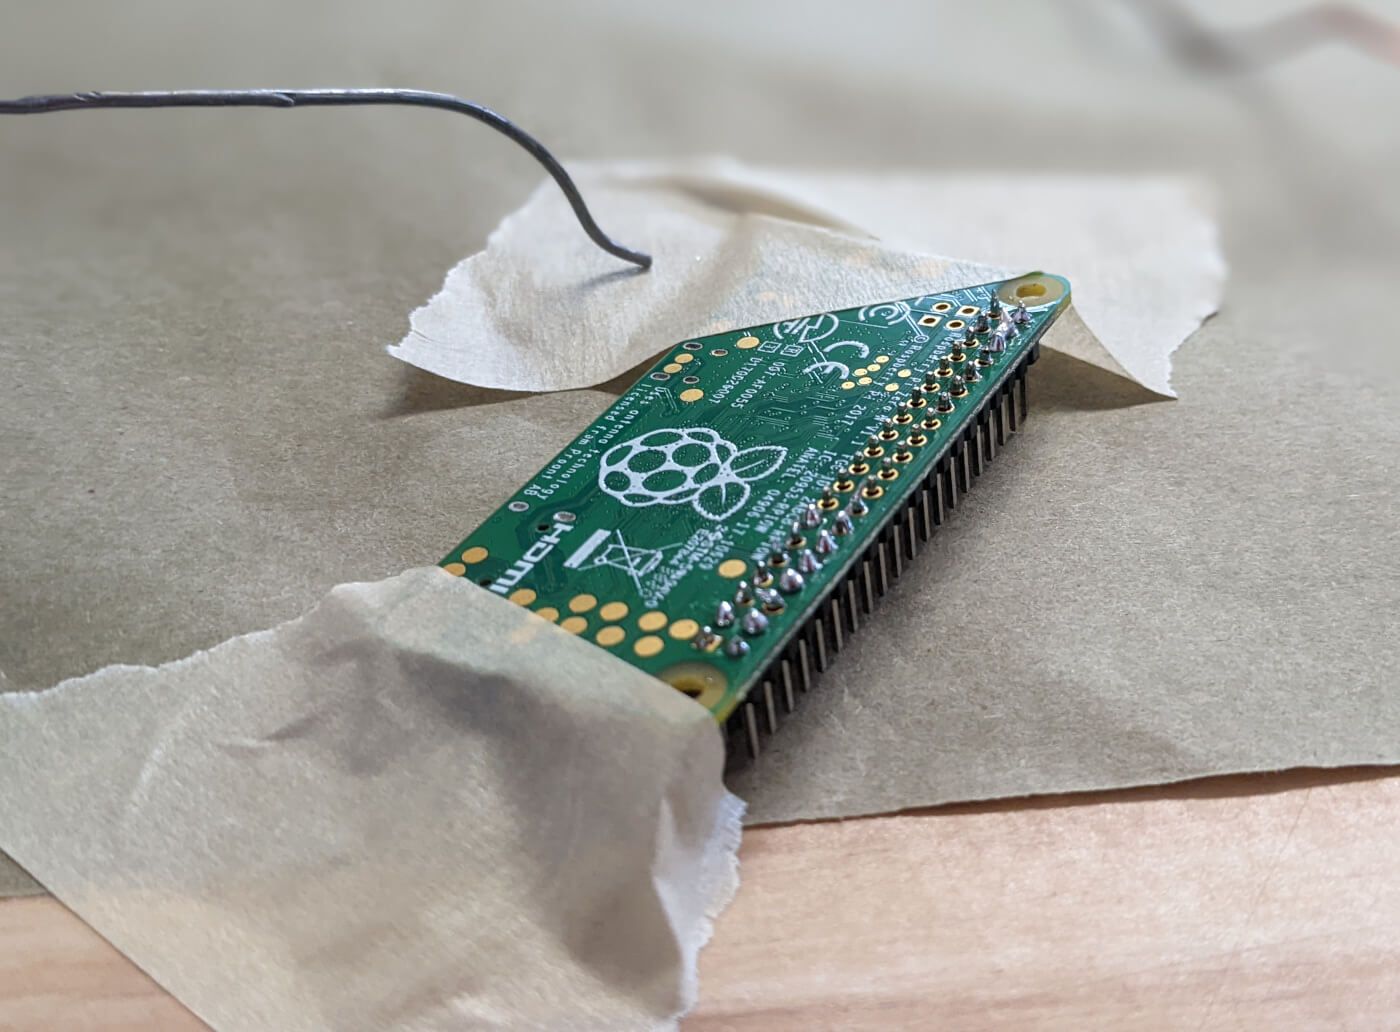
When it all arrived - I had to remember how to solder since the last time I did that was probably 10 years ago during original Xbox.
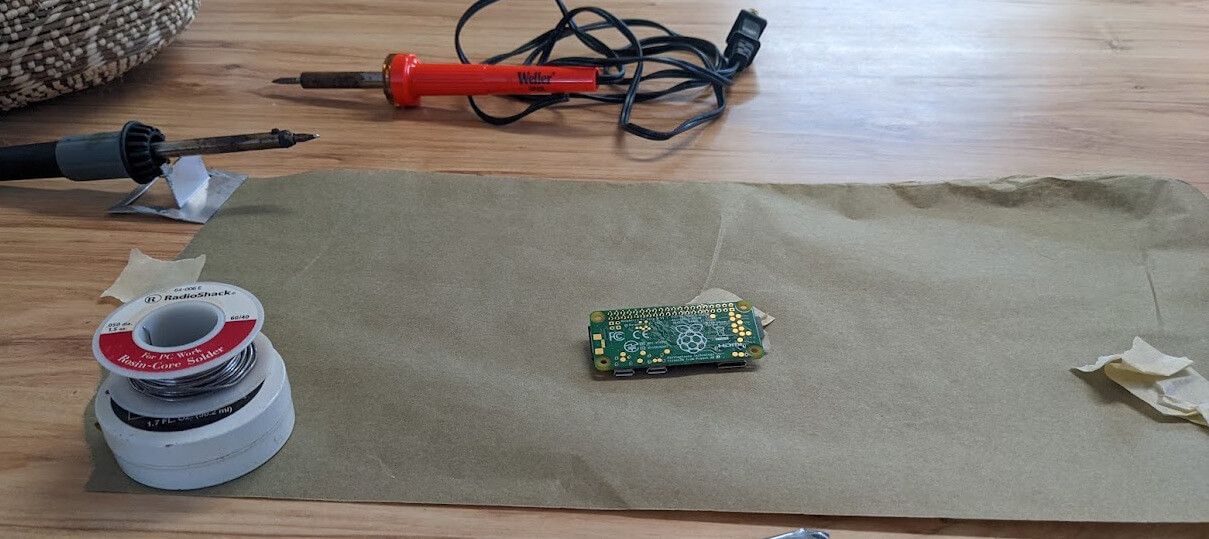
So I set up a quick station with my old equipment and hoped with a bit of solder and paste I could do a good job at soldering 20 pins to a board.
I started with a bit of tape since I did not have a board to anchor this Pi to something stable. Since I do remember that attempting to solder holding an iron, solder and board at once becomes incredibly difficult.
Folks will probably rate this soldering job poor, but this was a slow painful process to effectively not bridge points.
So I was excited that the hard part was done - the only thing I had left to do was to attach the display to that pin header and screw the battery onto the back.
Outside of triple checking everything this step was quite easy and then I had an uncased final product.
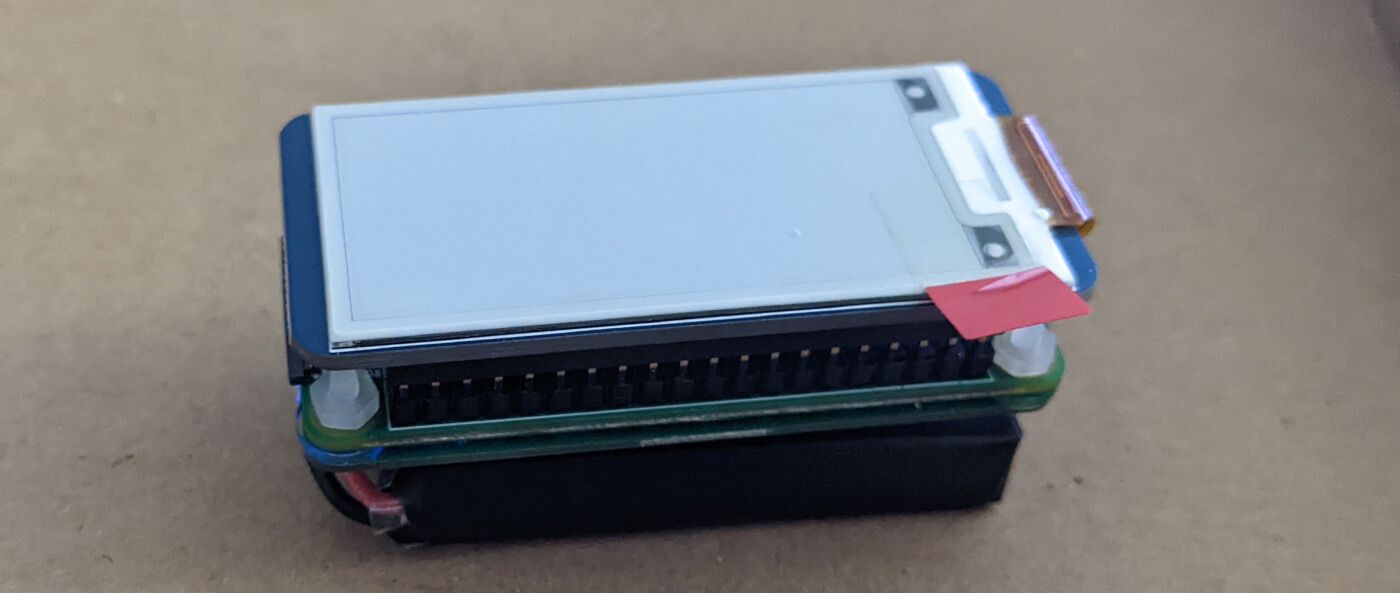
Outside of it looking like a bomb - I was ready to insert the sdcard and hope it worked. So I plugged it in and immediately a green light showed up! So I was happy I didn't fry the Raspberry Pi itself.
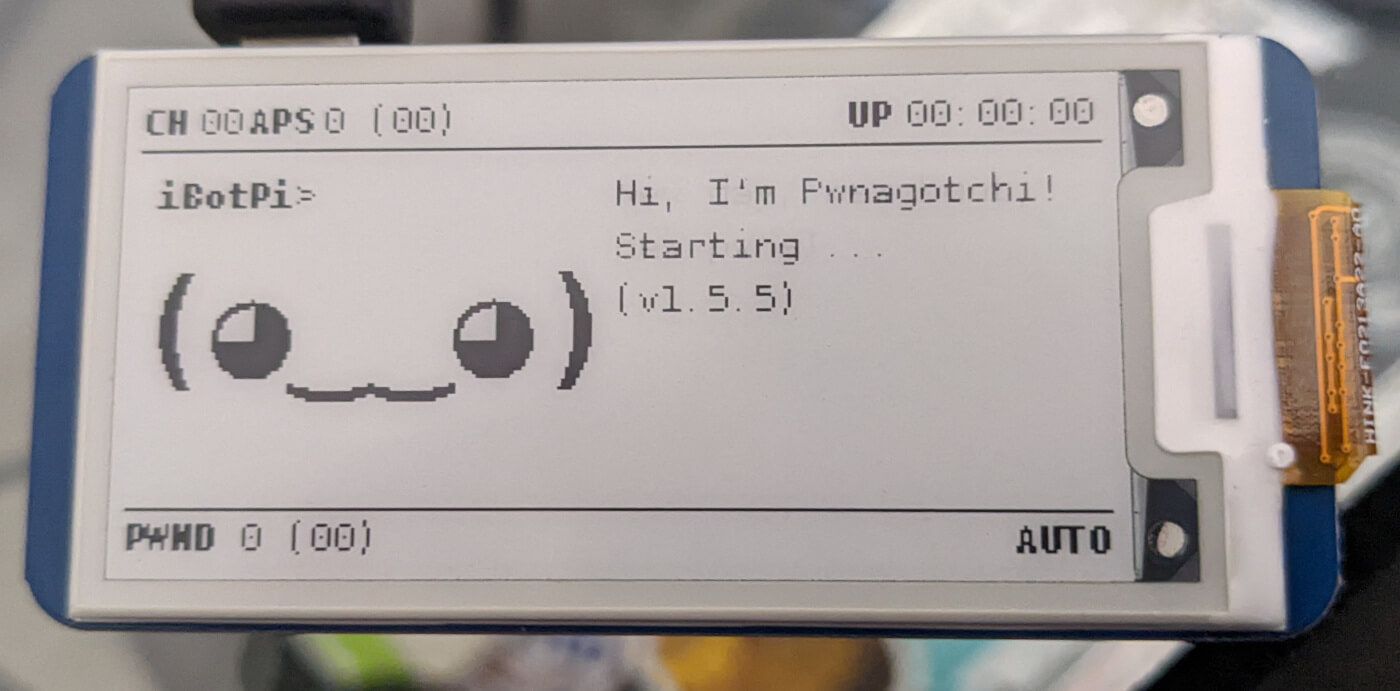
It looked quite bleak for about 6 minutes as nothing happened, but I just let it sit. Eventually, the display flashed and now I had a visual indication on the display that stuff was occurring!
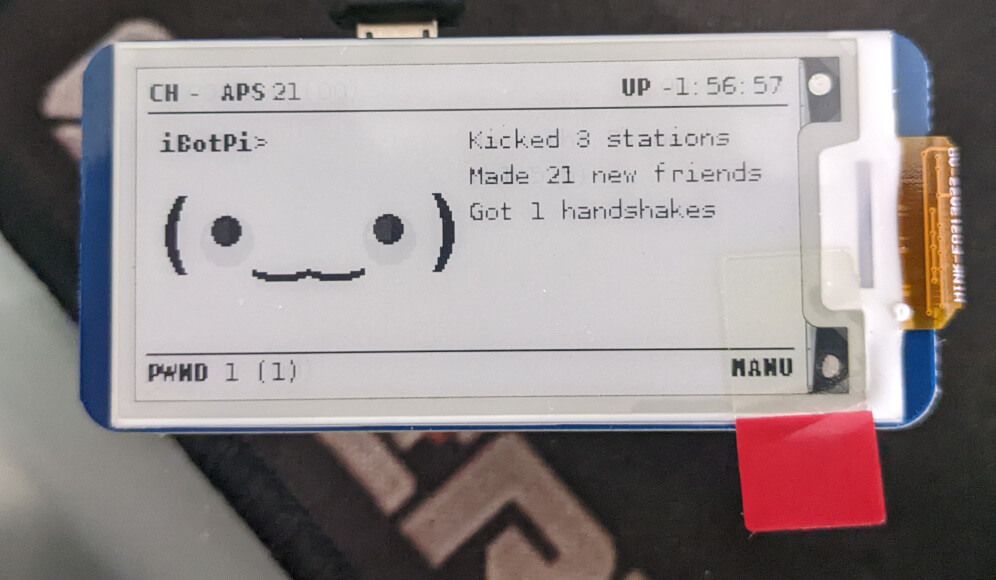
All these values seem unlikely because the device did not have power until about 6 minutes prior to that picture so I'm unsure why all those values showed up by default.
However, it worked! I could connect to it via SSH and configure it to my liking. A tiny educational project that refreshed my dated knowledge of soldering and learning a bit more about WiFi network security.