Running CAT6 (Part 1)
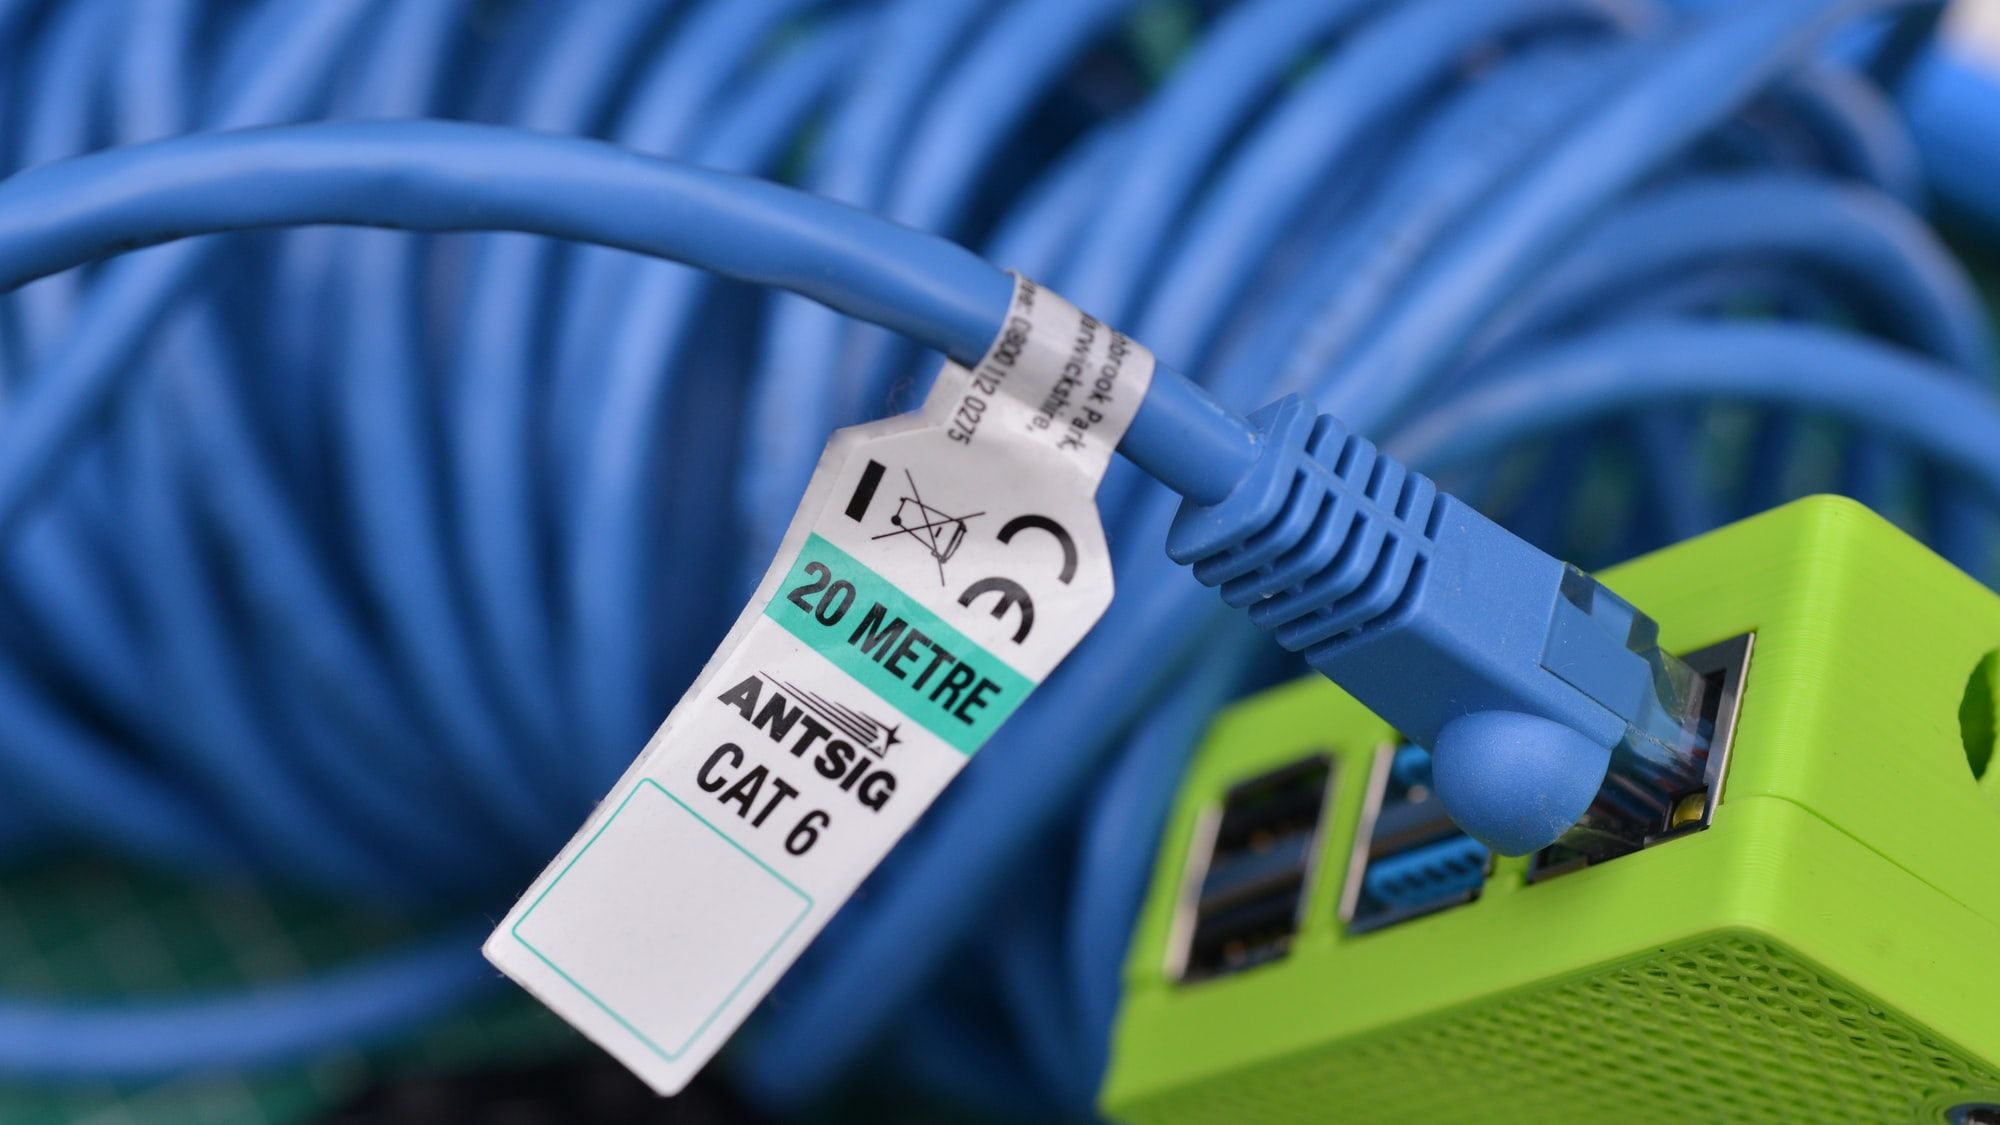
So after moving to a home and getting gigabit connection - the wireless signal around the home could be better. Yes, a cheaper solution would have been a mesh wireless network but I wanted wired in my office and the eventual location where a nice TV setup will be.
So the first step for me was to hire someone to do this and that turned out to be too difficult. Calling place after place resulted in the same outcome - "We won't run residential cable in an old home for 1 or 2 drops." There were a few options on craigslist for $90-$120 an hour, but with a couple Reddit threads saying this might take a solid 5-6 hours - means some money would be spent.
So I decided to do it myself - this is the journey.
The Materials
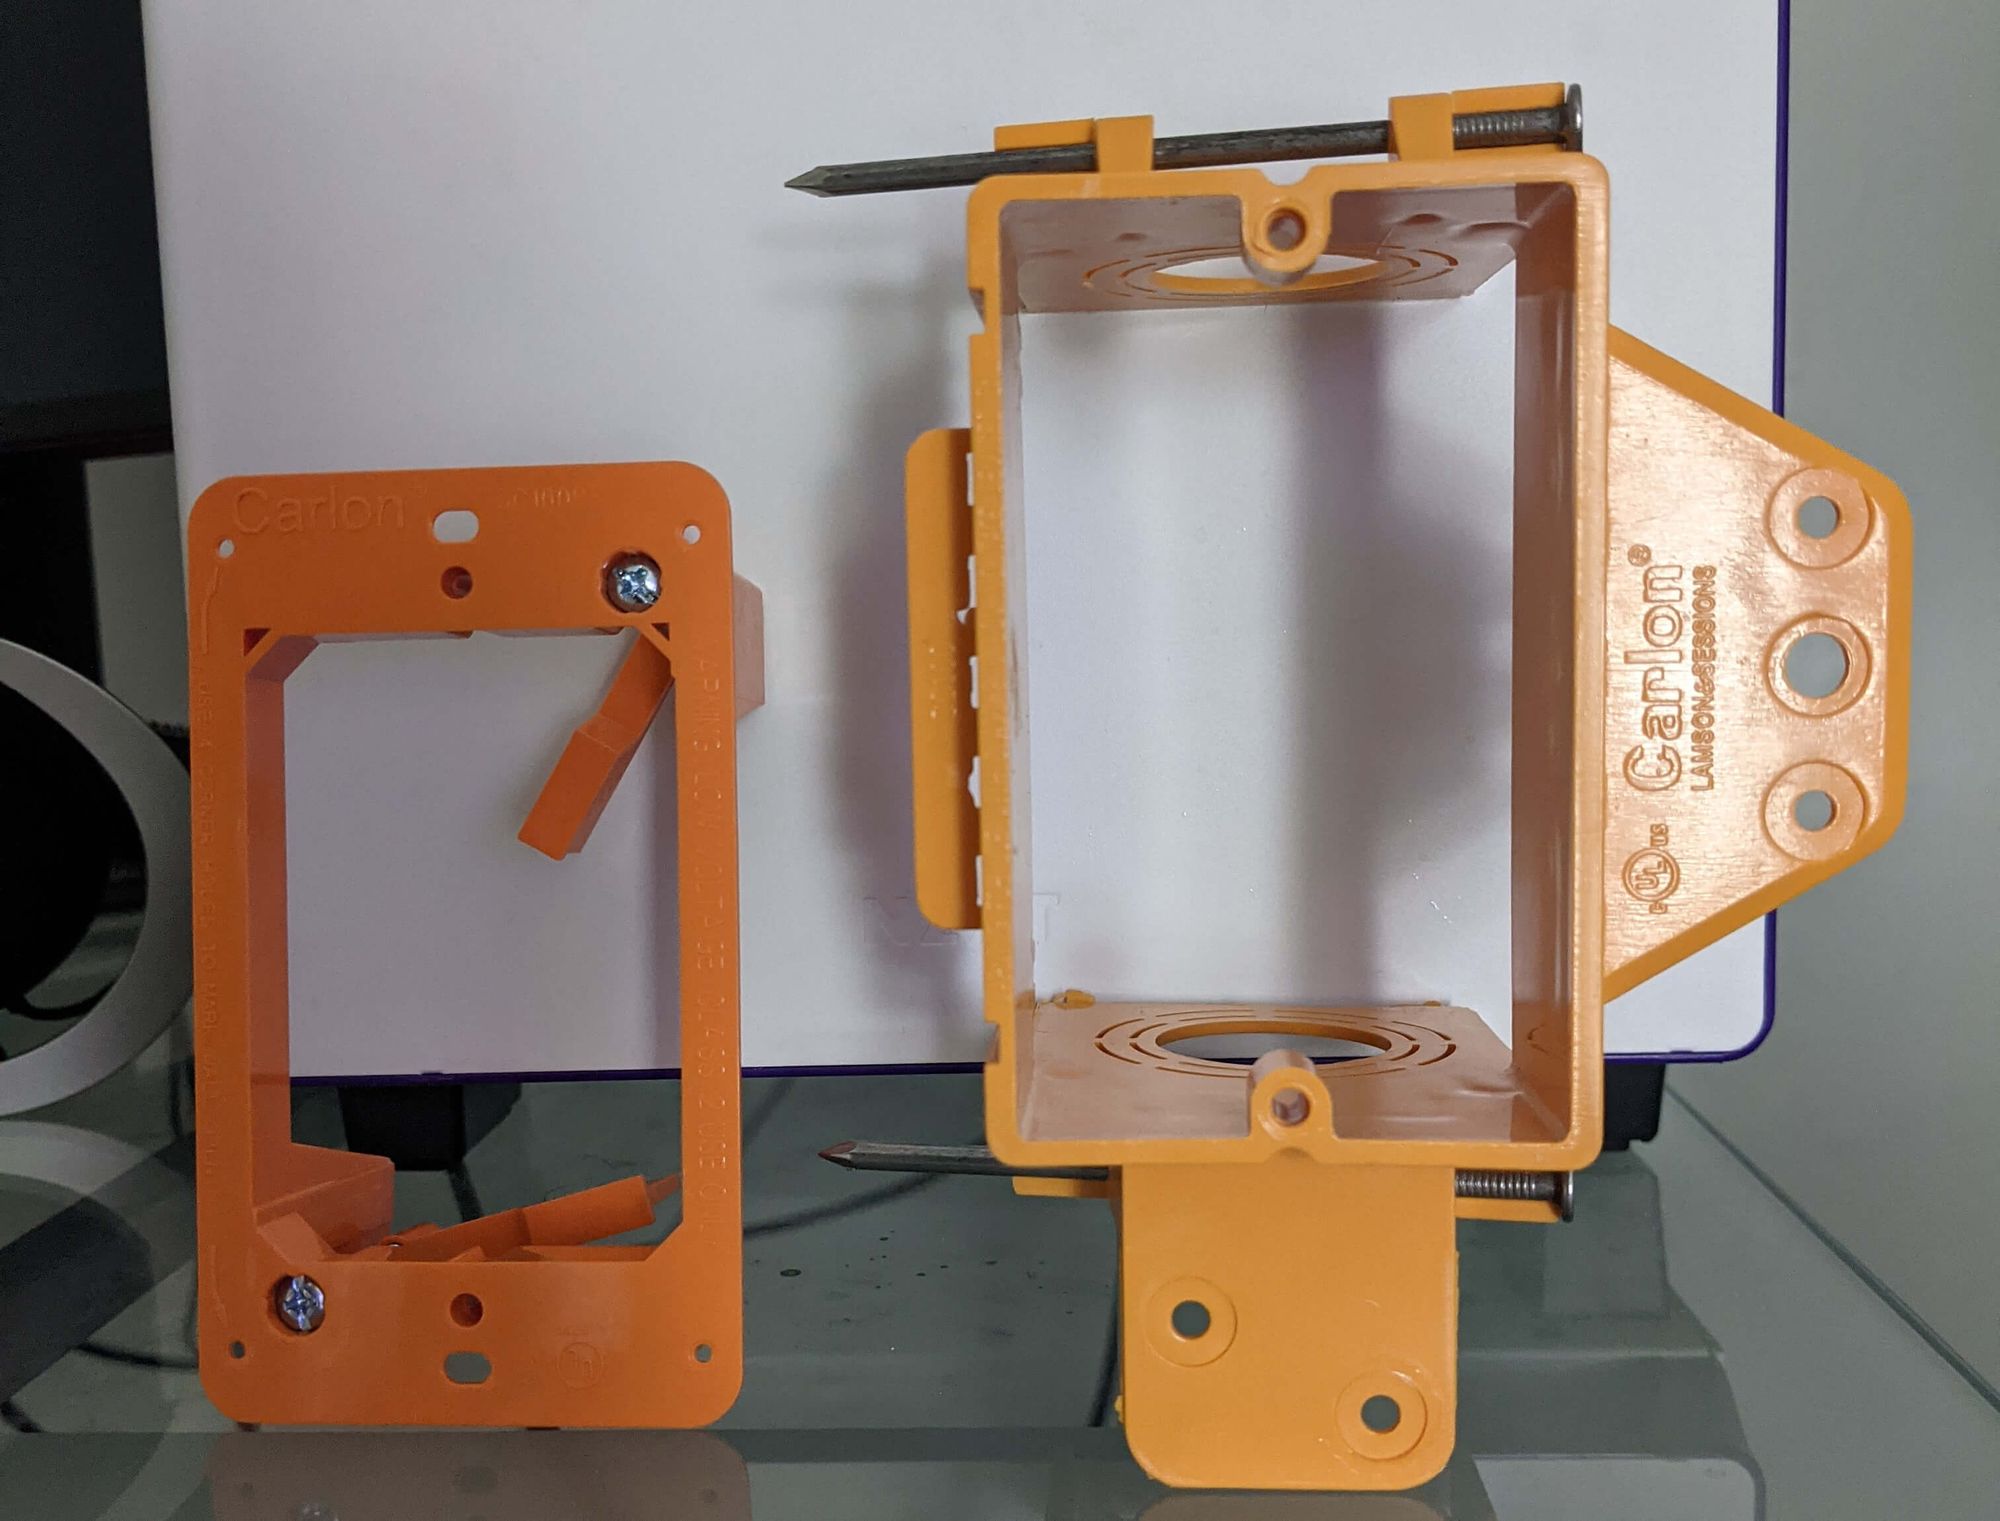
So at first after watching videos, I knew that a low voltage box bracket would be needed to nest my cable. What I didn't know if I needed one that mounted directly to a stud or drywall. So I picked up both the Carlon SC1000A (stud) and Carlon SC100RR. Turns out that the one on the left with my drywall placement is much easier to use. I imagine if you are building a home you use the on the right and then build the drywall around the boxes.
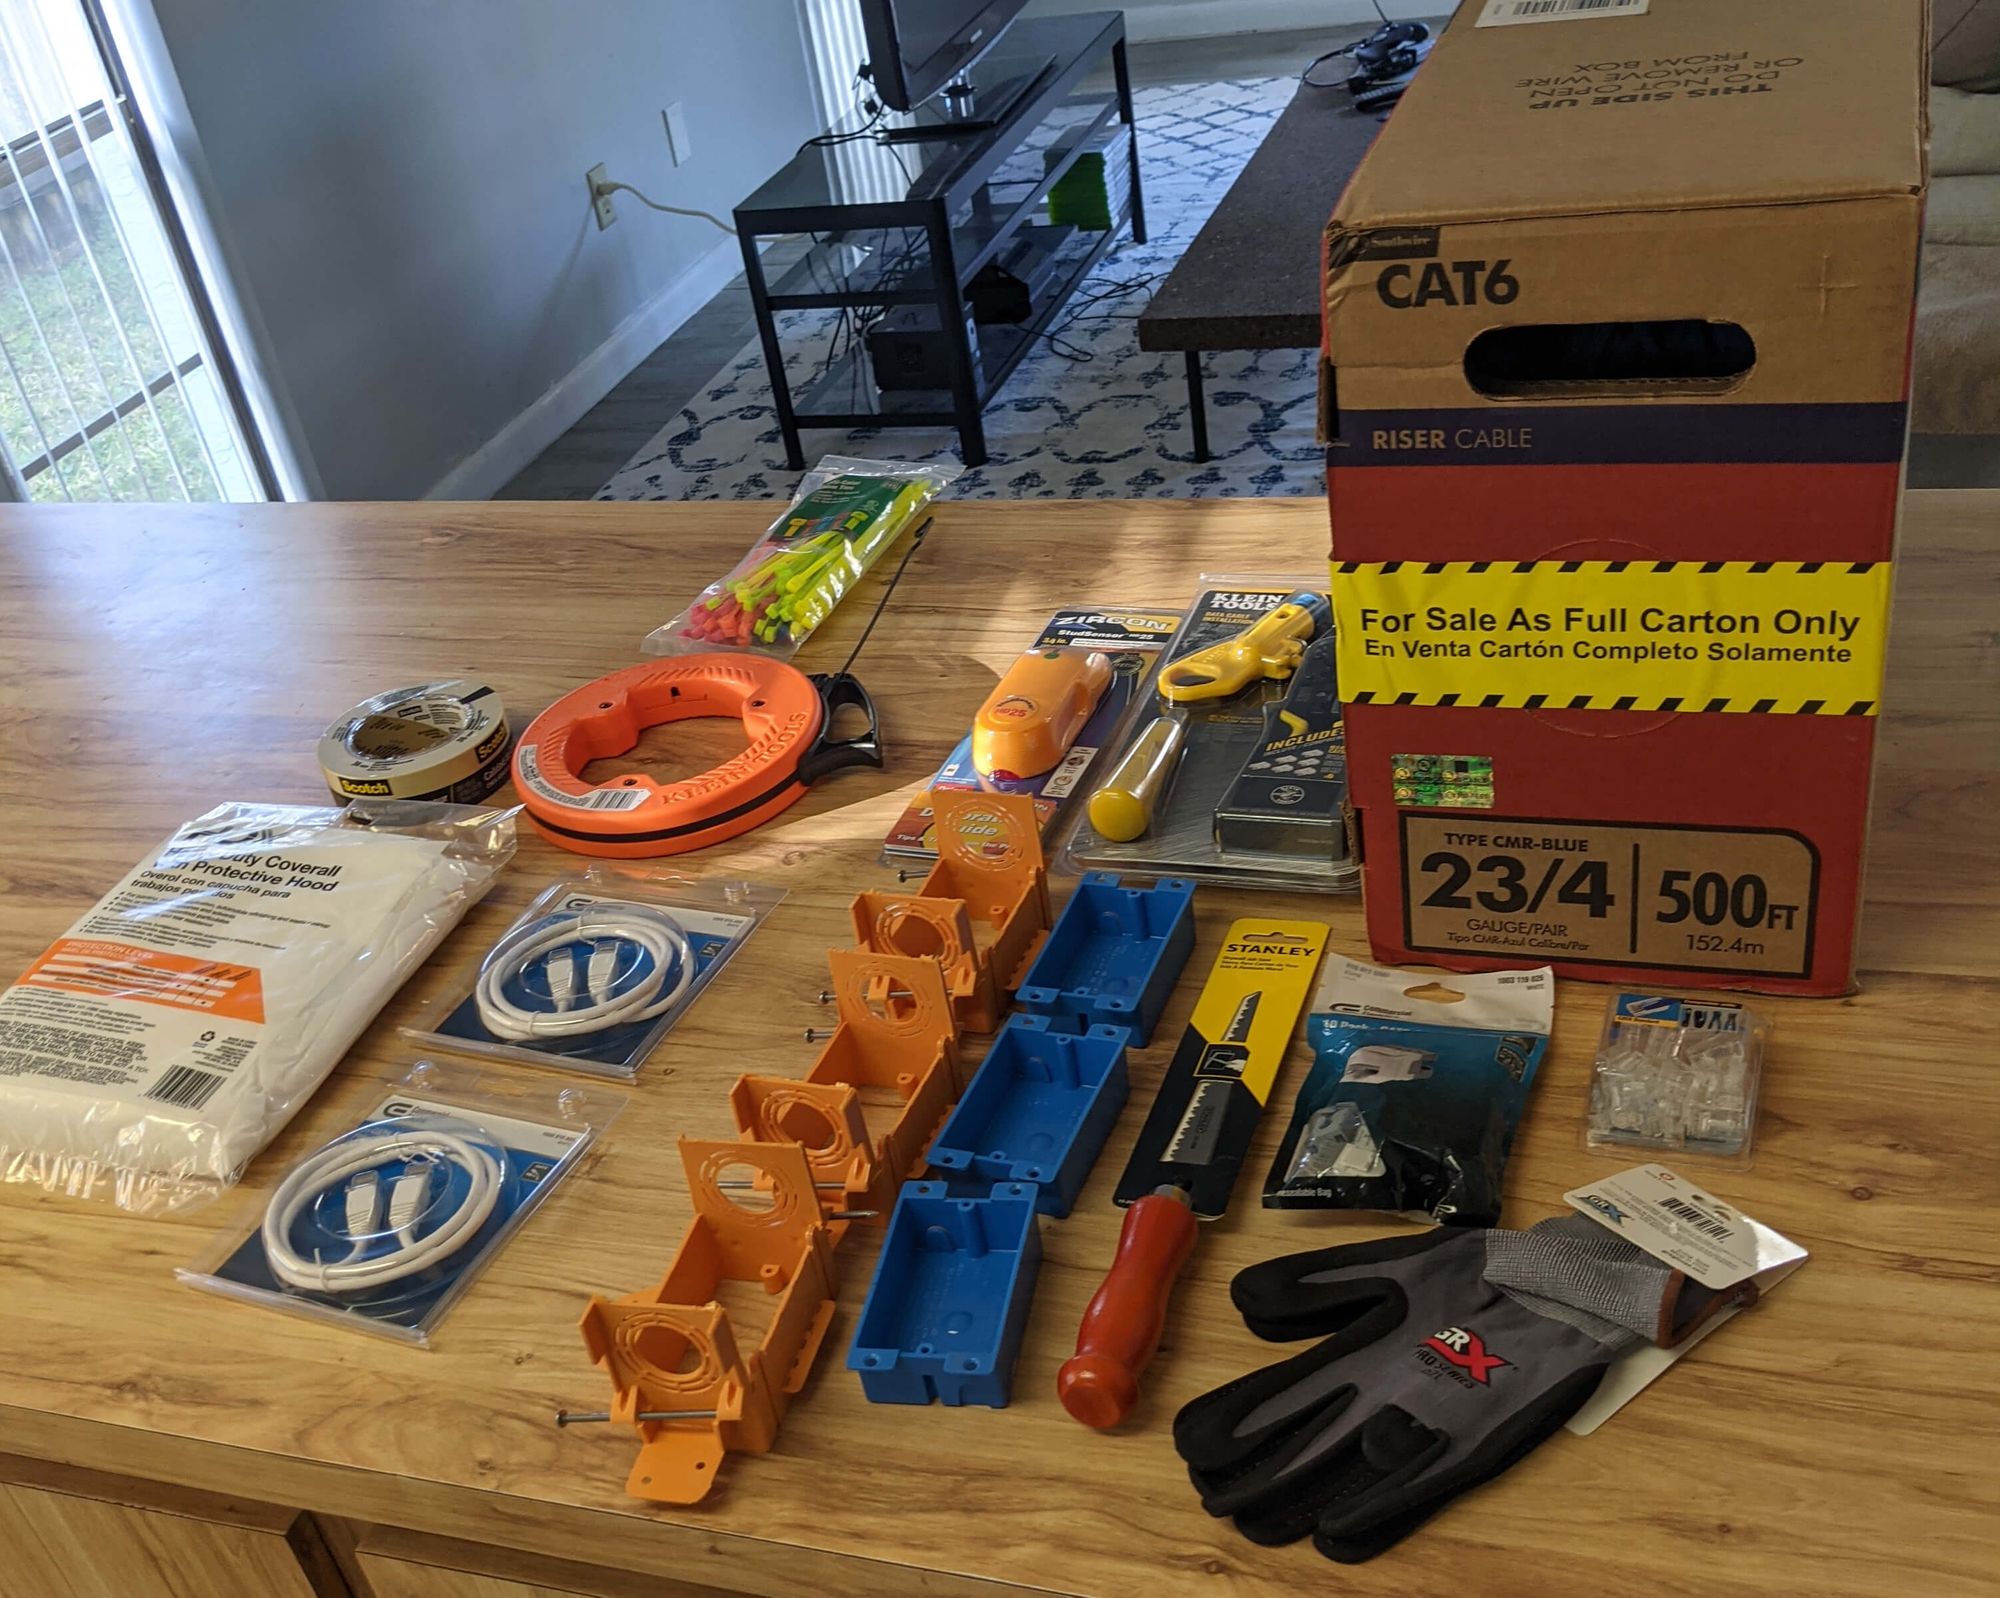
Now I needed the actual tools and cables associated with CAT6 which ended up being:
- 500ft CAT6 Riser Cable - $75.00
- Klein Tool Set - Twisted Pair, Punch down, Crimper, Stripper, Plugs - $39.97
- CAT6 Plugs (25 set) - $12.59
- CAT6 Jacks (10 set) - $15.99
- 2 Patch Cables (3ft) - Not needed
Turns out I'm an idiot buying patch cables when I can just make my own cables with all the tools above. I just overthought that when purchasing materials. The quantities could have been less in some departments, but I figured I might mess up and/or do this again.
Next up I needed everything to make holes, traverse an attic and more. So I picked up:
- A full body suit - $15.99
- Tape
- Steel fish tape - $21.19
- Drywall Knife - $6.69
- Gloves
I figured a full suit designed for painting would help protect from loose insulation and generally just keep a layer on me from all unknowns of an attic. So now I had everything I needed.
Now the goal was to extend the CAT6 into the room shown above from my office. This had many problems to overcome:
- Exterior wall Office/Porch
- Exterior wall TV/Outside
- Vaulted Ceiling (TV area)
Then problems encountered during the cabling:
- Very small attic opening (6-8") in vaulted portion
- 2x4 sealing gap between drywall at top
- Existing wire stabled to studs
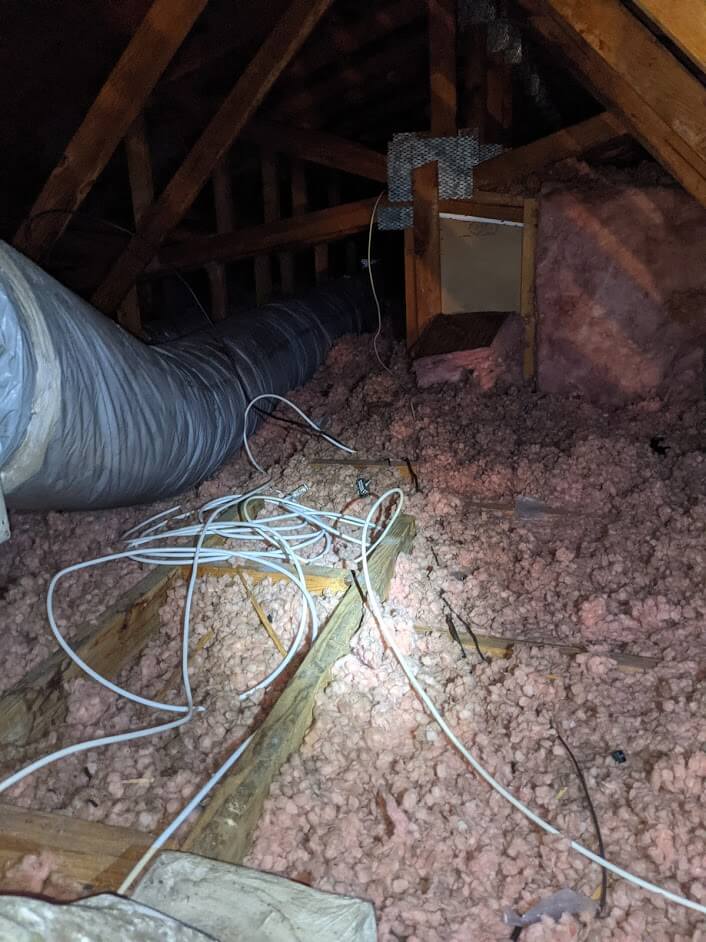
It was quickly learned in the attic how confusing some of this was. Most of the existing cables were following a T shape. Where they dropped in the attic, went horizontal along a stud then dropped down. This meant that simply pulling out coaxial/phone to swap for CAT6 was not feasible.
It appears that an attic just becomes a graveyard for all cabling - I saw coaxial everywhere with both Frontier & Spectrum labeling. After a long grueling process realizing that taping CAT6 to an existing phone line and pulling from attic wouldn't work a new hole was made in wall. The snake could go up to the attic and be heard, but the 2x4 over wall made it very difficult to isolate exactly where it was.
My idea was to drill a hole in the attic in my best guess location, turn off the lights in the below room and see if a light could be seen from below from shining in attic. That worked which meant the drop could occur. The snake was brought into attic and fished downward to the hole in wall. Once grabbed the CAT6 was disconnected and snake retracted.
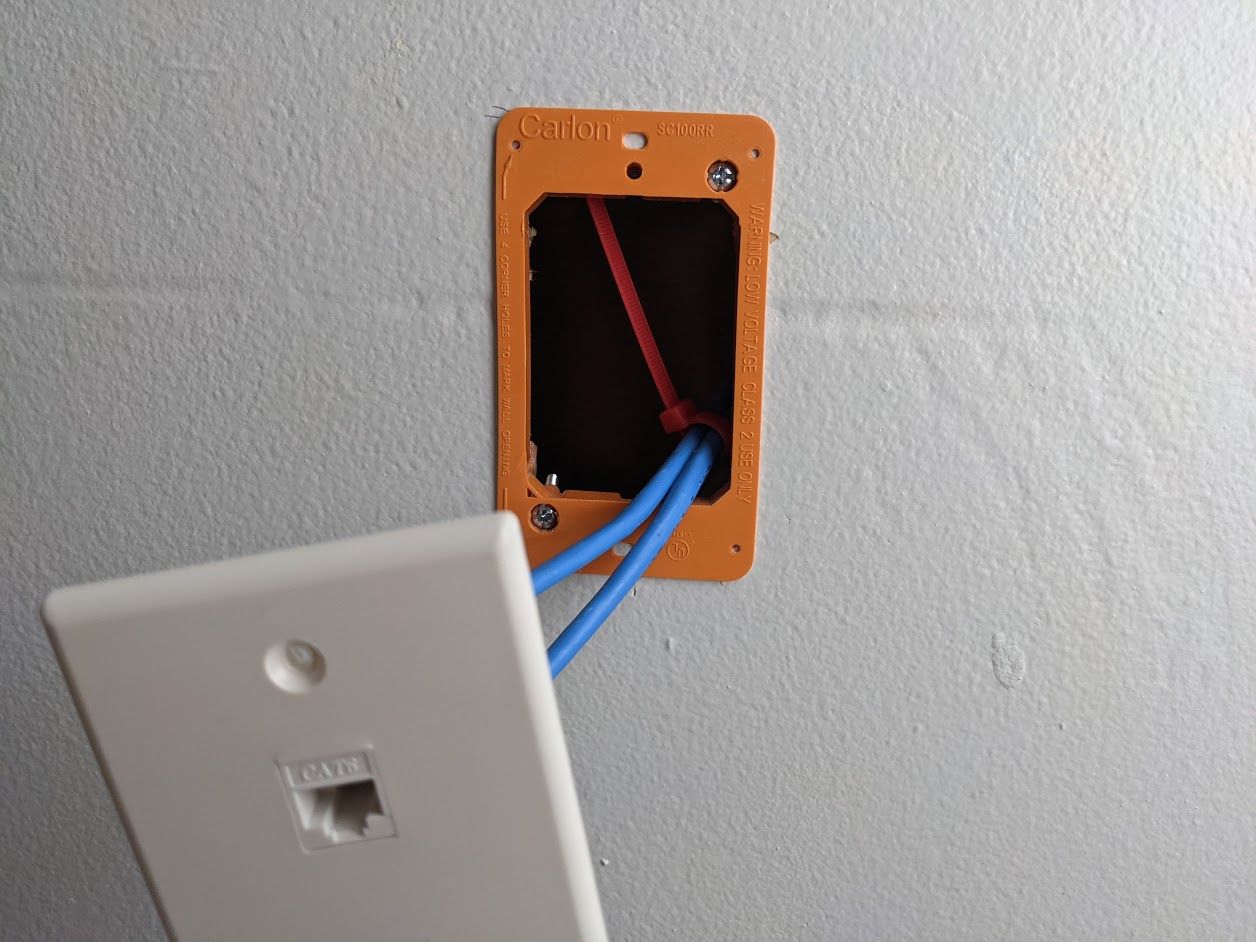
So using the same twist tie color (red) as the various points in attic and both ends would help me or some future homeowner identify this cable. Just match the colors and good to go. Crimping cables and building a few jacks wasn't difficult just took a few tries to understand how all the tools work together.
So one side down, just the vaulted ceiling to go...
This ended up being the failure as I poked a hole through the ceiling when trying to navigate the small portion of the vaulted slanted ceiling. So lets set the stage.
- 150ft CAT6 (x2) in the attic to be carried
- a backpack of phone/twist ties/drill bits
- a full body suit
- gloves
- a corded drill with 150ft of extension cable
- darkness (flashlight)
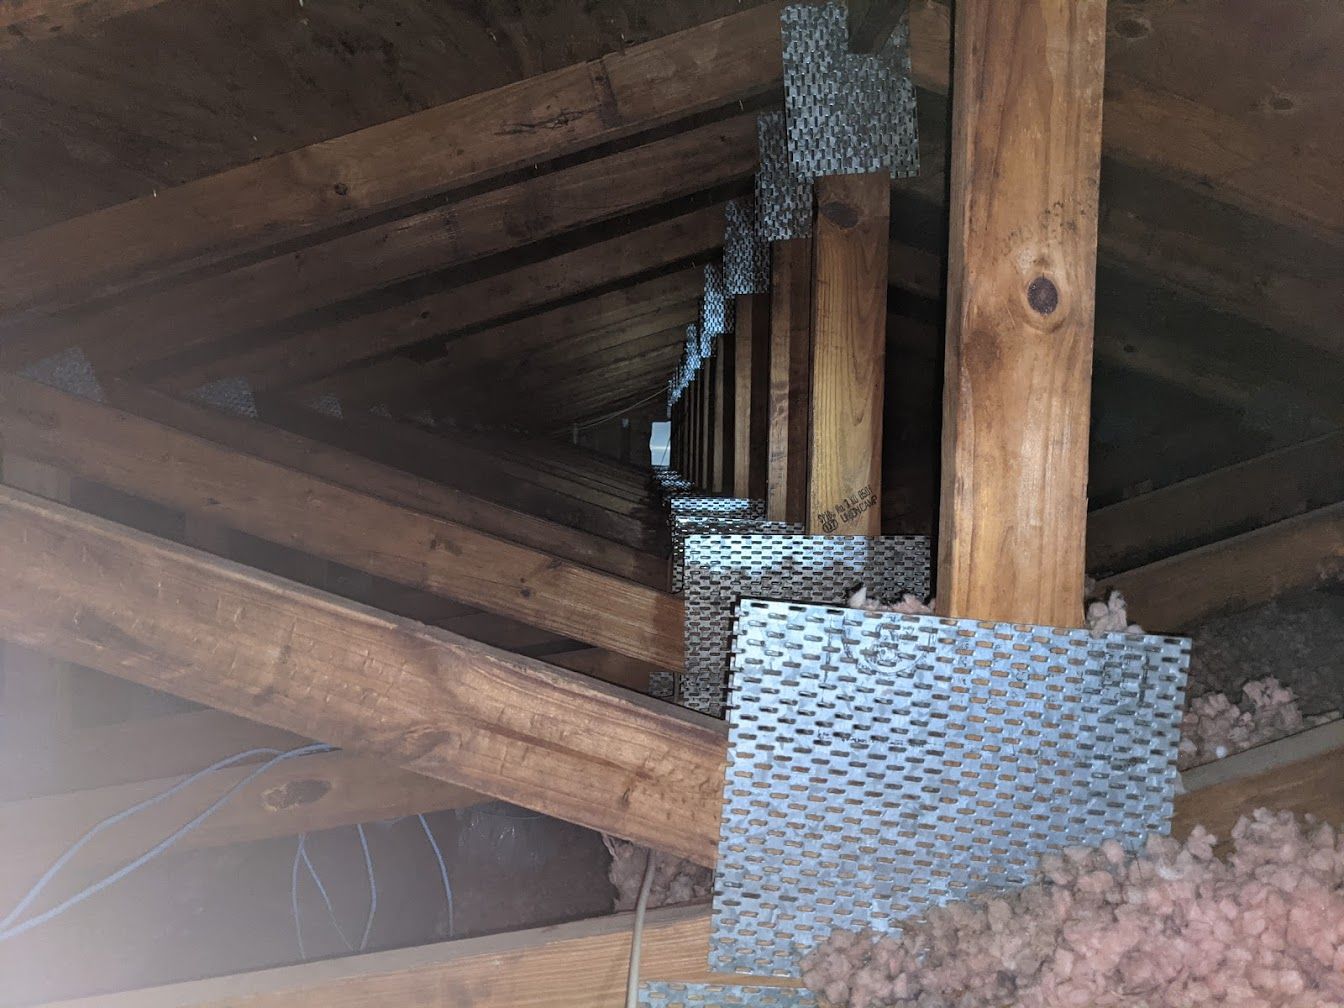
Getting into the attic was easy and navigating the almost standing height was also easy, but then you hit this portion (picture above) where you either have to army crawl across beams or navigate a weaving under/above supports as you make your way to the other end of the house.
Yes, my goal was to make it to that reflecting box you see at the end. It was 17 supports to pass which was a grueling hot journey. Just to make it to the end and realize I had to traverse 6-8ft down a vaulted ceiling which shrunk down to a literal foot of space towards the end.
Accessing my phone at this point or anything else became impossible. I was balancing between trusts using my elbows and knees to keep my weight off the drywall. Once I tried to grab the CAT6 to move closer to wall - I lost my grip and let my full weight onto the drywall and boom - it cracked. Thankfully I heard the noise and regained my grip, but falling 16ft on my back didn't seem like something I wanted to continue.
So the day was over feeling defeated with a hole in the ceiling, so it was time to regroup and plan on just cutting a larger hole (to both fix the problem and finish the wiring). That part of the story will have to wait as that is what I'm attempting to do tomorrow.
Part 2 is here.
